Adding Channel Quick Guide
Camera settings in Community Platform must be used with Genius Vision NVR. To use the NVR, follow the following steps...
- Download and install NVR
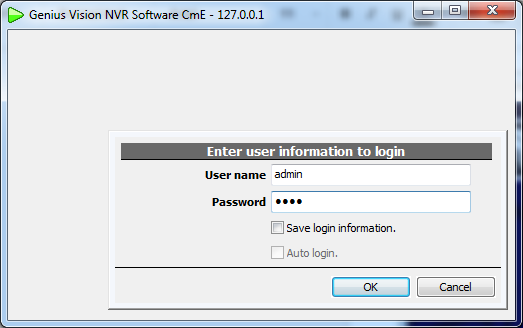
- Login for the first time (default username/password is admin/1234)
- Configure storage for recording
- Add new channel
- Download camera settings
Step 1. Download and install NVR
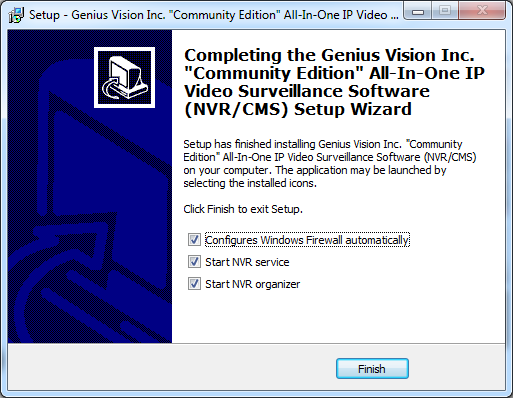
Visit /community.html and download Genius Vision NVR software.
Click Next all the way to install NVR software. Normally you don't need to change anything.
Step 2. Login for the first time
Step 3.Configure storage for recording
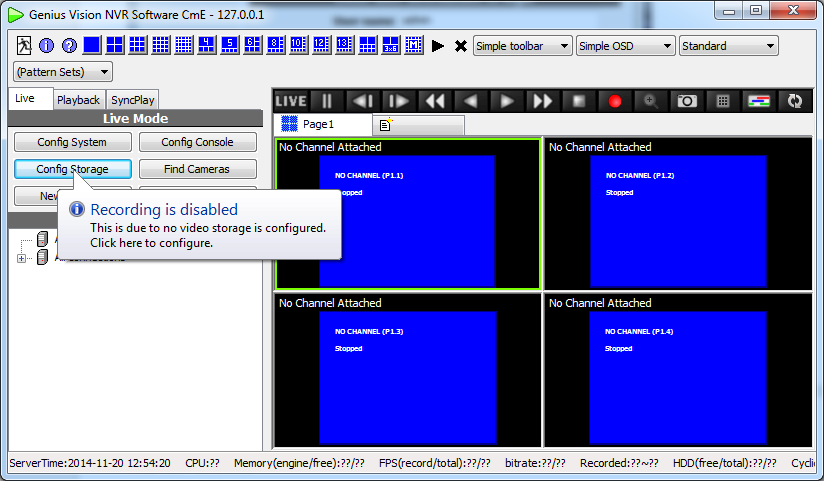
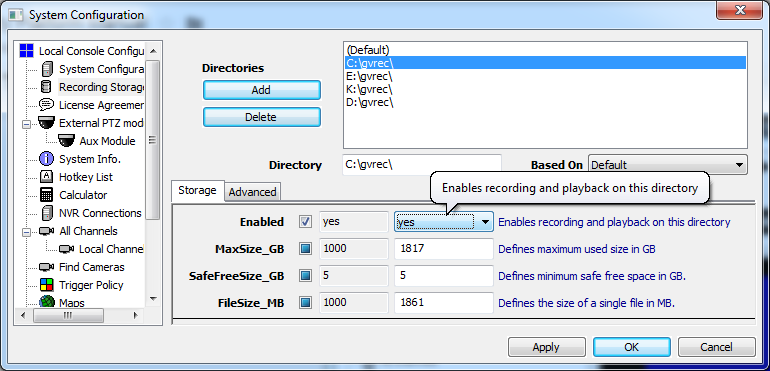
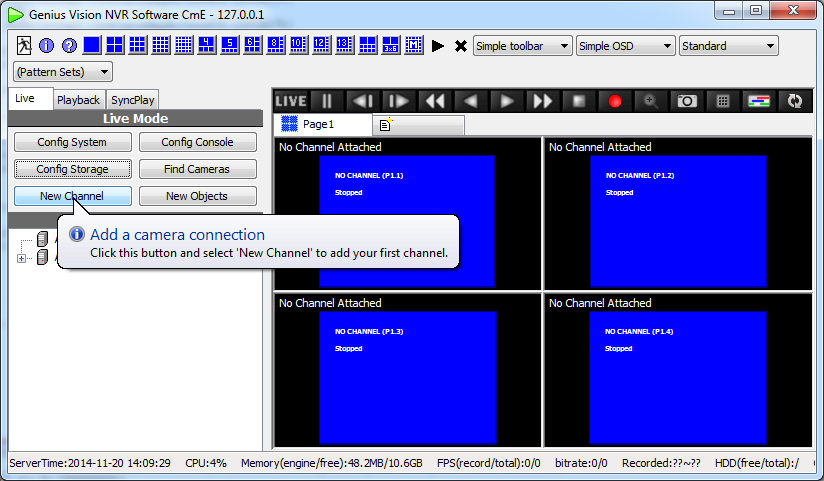
Before using NVR, Storage must be configured first or video will not be recorded. Click Config Storage to invoke config dialog.
Enable at least one directory and click OK to save the settings.
Step 4. Add new channel to connect to IP camera
Now you can connect to your IP camera by adding a new channel. Click New Channel to proceed.
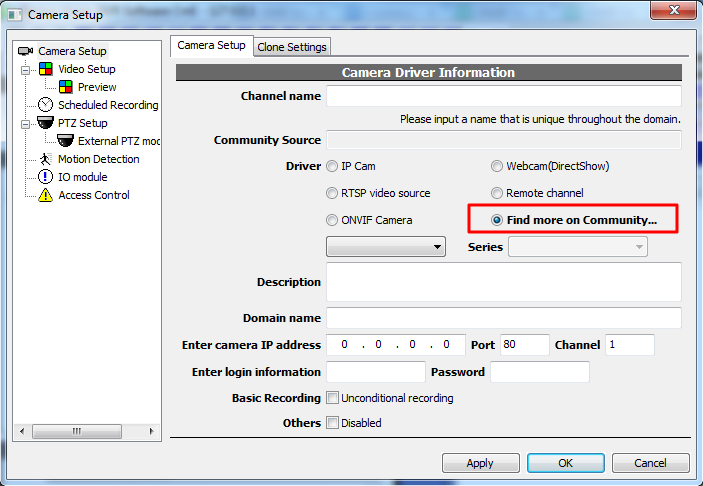
To download camera settings from Community Platform, click "Find more on Community…"
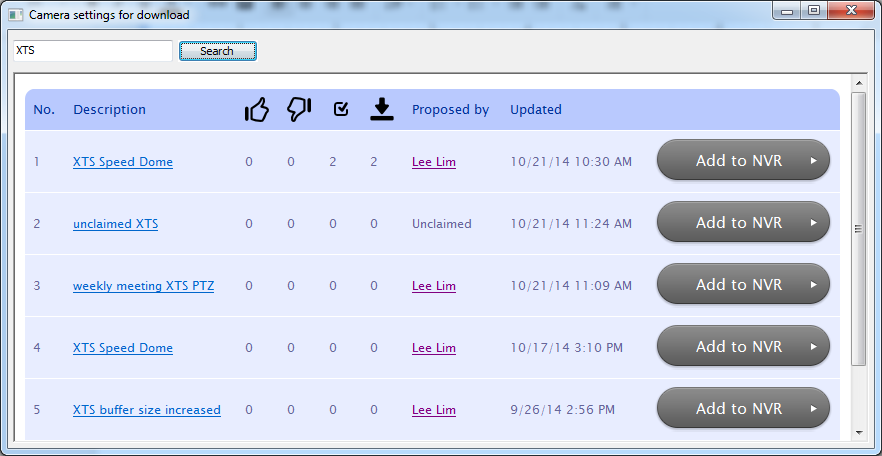
Step 5. Search & download camera settings
You can browse or search for model of your IP camera by keyword...
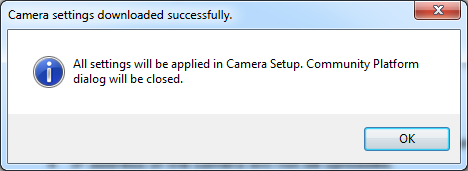
You will see this message dialog if camera settings is downloaded successfully,.
Step 6. Fill necessary IP local information
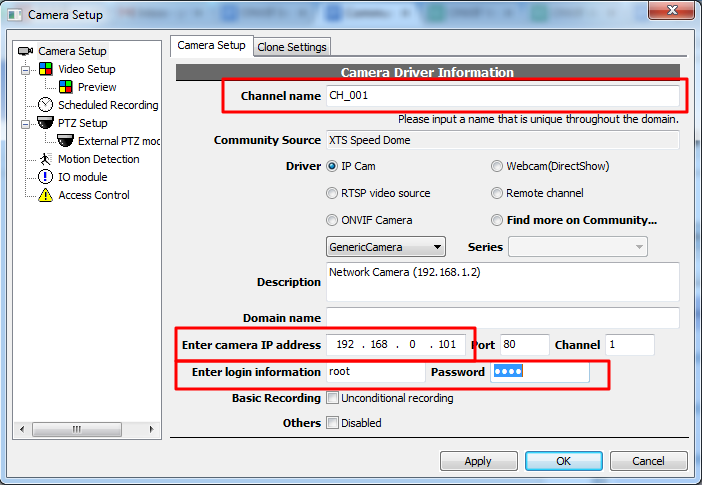
Before you can proceed to use the camera, you still need to fill the following fields, as also indicated in the following screenshot:
- Channel name: A locally unique name to identify this channel.
- IP address: Refer to camera manual or use find tool provided by camera manufacturer to find the address.
- Login information: Refer to camera manual to find default username/password. It may or may not be included in camera settings downloaded from Community Platform.
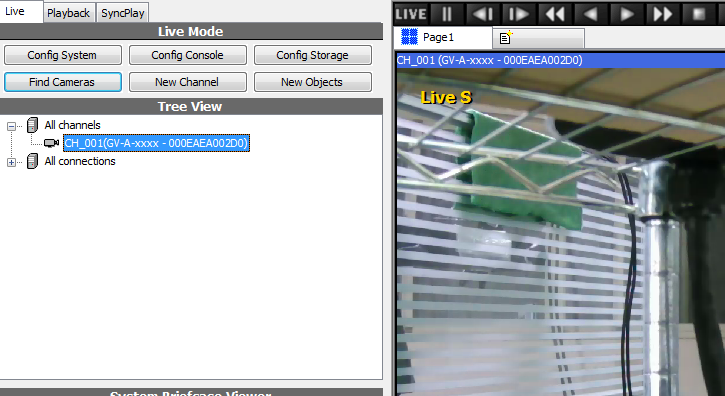
Now everything is ready. Click OK and the camera will be connected.
Related Video |
